Table of Contents
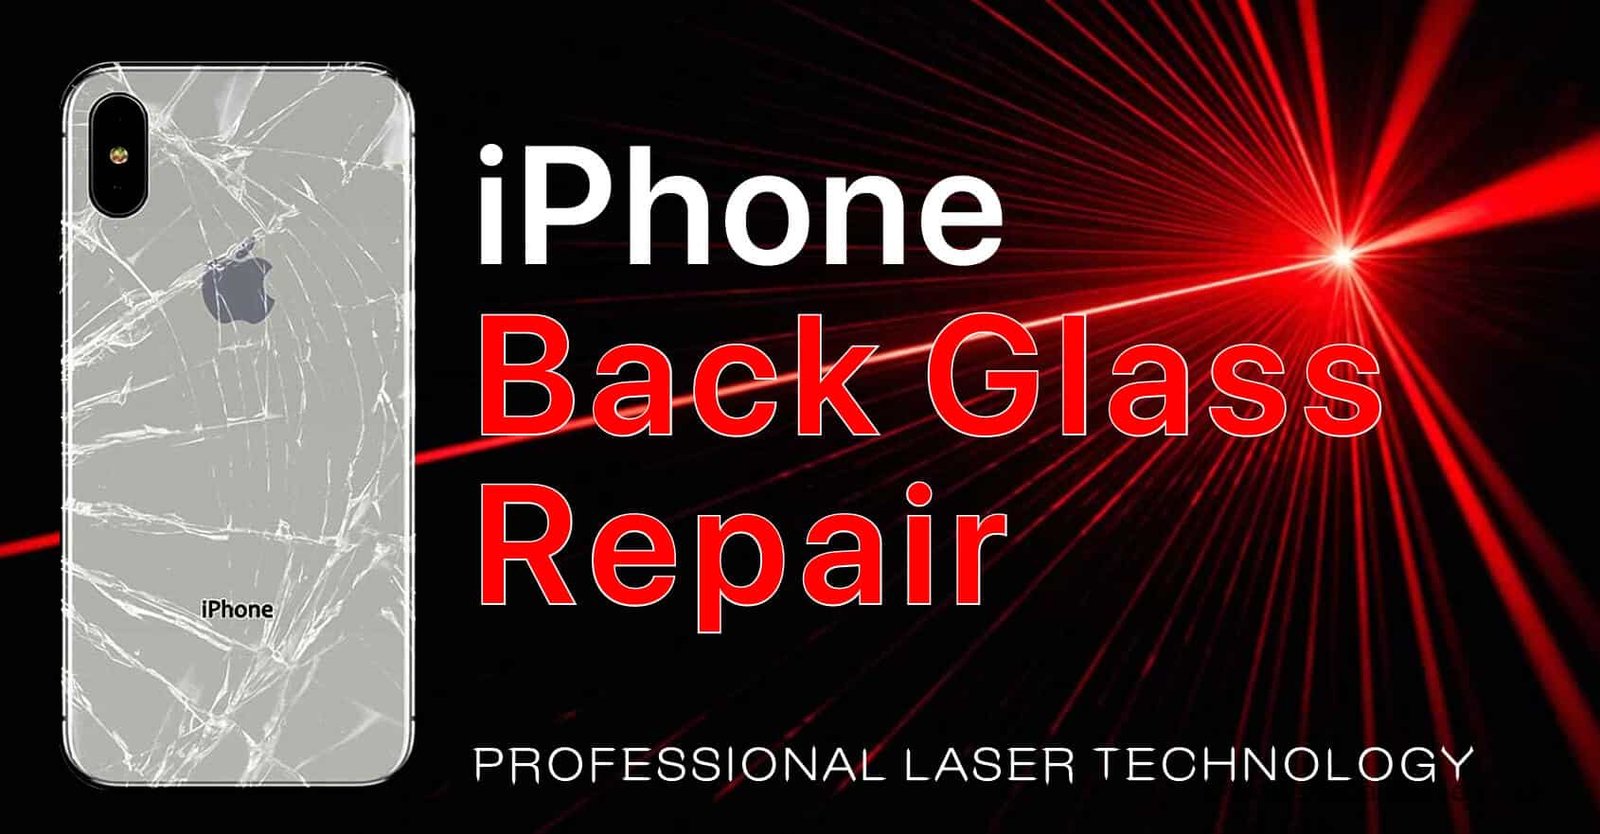
iPhone Back Glass Repair Guide
If your iPhone has a cracked or shattered back glass, you might be considering a replacement. This guide will walk you through the steps to replace the back glass on your iPhone, even if you don’t have access to specialized equipment. Follow these instructions carefully to ensure a successful repair.
Tools You Will Need:
- Pry tool
- Heating pad
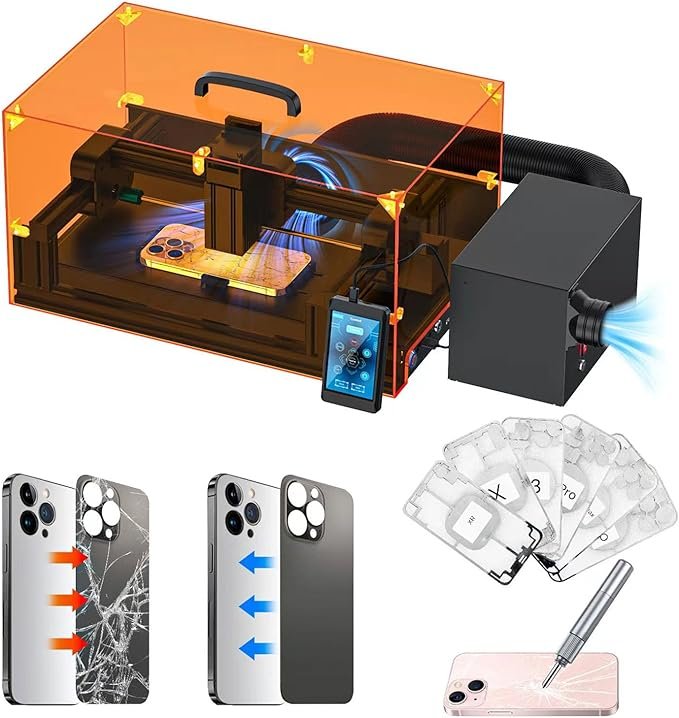
- Specialized laser machine (optional)
- Isopropyl alcohol
- Liquid adhesive
- Clamps or rubber bands
Step-by-Step Guide:
Step 1: Assess the Damage
- Examine the extent of the damage to your iPhone’s back glass. If the phone were previously repaired with an aftermarket housing, the glue used would be less robust compared to the original factory glue.
Step 2: Prepare the Work Area
- Lay out all your tools and ensure you have a clean, well-lit workspace.
Step 3: Remove the Back Glass
- Heating the Glass: Use a heating pad to warm up the back of the phone. This will help weaken the adhesive, making it easier to remove the glass.
- Prying the Glass: Gently use a pry tool to lift the back glass. Start from a corner and work your way around. Be careful not to insert the tool too far to avoid damaging internal components.
- Using a Laser Machine (Optional): If you have access to a specialized laser machine, use it to burn and weaken the adhesive. This is particularly useful for original factory housings.
Step 4: Clean the Area
- After removing the back glass, clean the exposed area to remove any residual glue and glass shards. Use isopropyl alcohol to ensure a clean surface.
- Ensure the surface is completely free from any debris to ensure the new glass fits flush with the frame.
Step 5: Remove Glass Around the Cameras
- Carefully remove the glass around the camera lenses. The back glass sits beneath the camera lenses, meaning you’ll need to smash the glass without damaging the camera lenses or frame.
Step 6: Remove the Glass Over Wireless Charging Coil
- The wireless charging coil is glued to the back glass. Reheat the area to soften the adhesive and gently remove the glass covering the coil without damaging the coil itself.
Step 7: Prepare for New Glass Installation
- Clean the area thoroughly, especially around the camera lenses and wireless charging coil.
- Apply a thin layer of liquid adhesive or use pre-cut adhesive strips to the back of the phone.
Step 8: Install the New Back Glass
- Position the new back glass over the phone. Ensure it is aligned correctly with the camera lenses and other components.
- Use clamps or rubber bands to hold the glass in place while the adhesive cures. Allow it to set for several hours.
Step 9: Final Touches
- Once the adhesive has cured, remove the clamps or rubber bands.
- Clean any excess glue that may have seeped out during the curing process.
- Test the phone to ensure everything is functioning correctly, particularly the wireless charging feature.
Step 10: Apply Screen Protector
- As a final step, replace any damaged screen protectors with a new one to keep your phone looking pristine.
Check the Latest Price on Amazon and Buy Now!
V2 Laser for iPhone 8-15 Series Back Glass Replacement, Cell Phone Repair Laser Safely, Auto-focus Laser Separator Engraving Machine with Air Filter and Phone Repair Tools